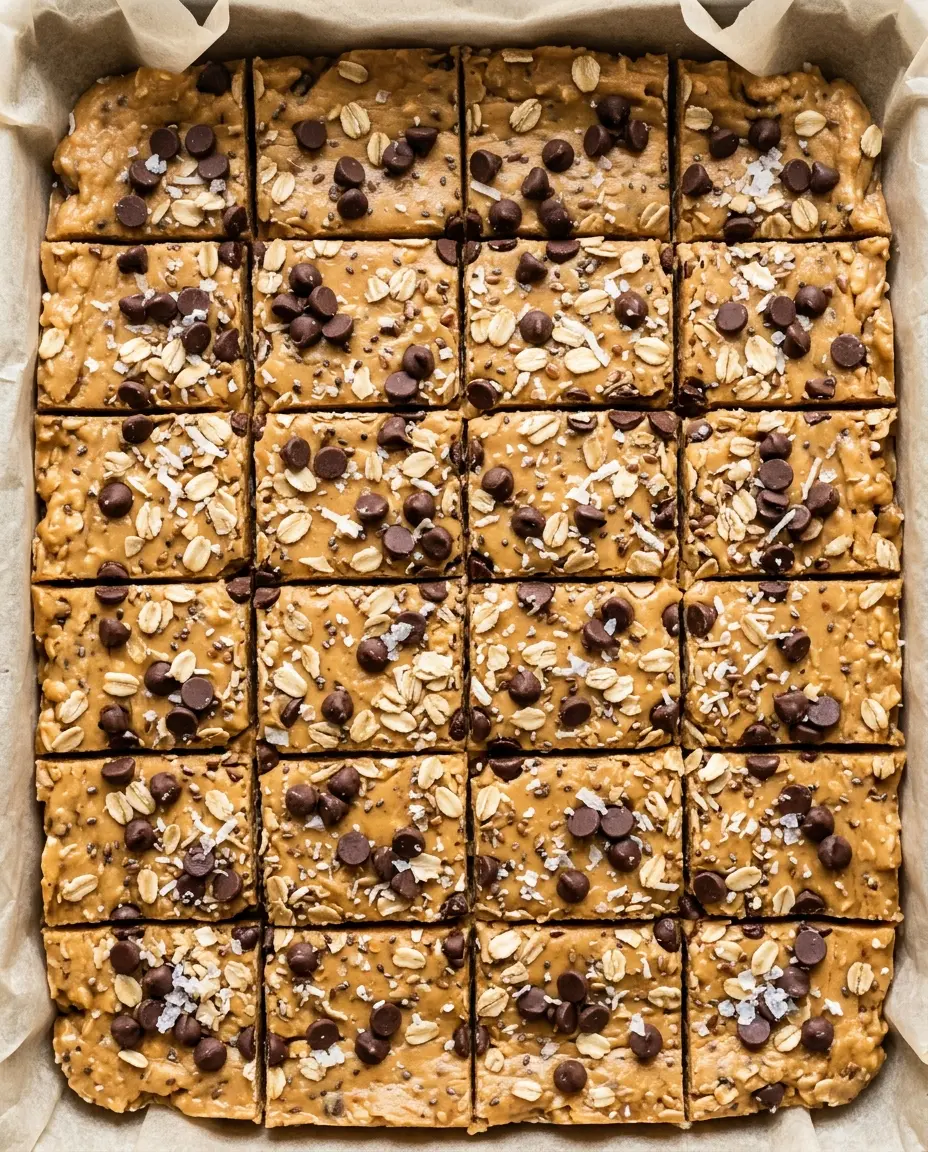
No-Bake Protein Bars
These no-bake protein bars come together in about 15 minutes with simple pantry ingredients — no oven, no cooking, no fuss. They're chewy, peanut buttery, and packed with enough protein to actually keep you full between meals.
Prep
1 hr 10 min
Cook
N/A
Total
1 hr 10 min
Servings
10 bars
Ingredients
Tools that make this easier
Optional — the recipe works without them.
As an Amazon Associate, I earn from qualifying purchases.
Instructions
- 1
Stir the wet ingredients together. In a large bowl, combine the peanut butter and honey (or maple syrup) until smooth and well blended. If the peanut butter is stiff, microwave it for 20–30 seconds first — it should be loose enough to stir easily.
- 2
Add the dry ingredients. Pour in the oats and protein powder. Fold everything together with a spatula or wooden spoon until no dry pockets remain. The mixture should hold together when pressed between your fingers without crumbling apart.
- 3
Fold in the chocolate chips and any optional add-ins. Mix just until evenly distributed.
- 4
Press into a pan. Line an 8×8 inch baking pan with parchment paper. Transfer the mixture and press it into an even, compact layer using the back of a spatula or the bottom of a measuring cup. Push firmly — loose pressing leads to crumbly bars.
- 5
Chill until set. Refrigerate for at least 1 hour, or freeze for 25–30 minutes if you're short on time. The bars should feel firm to the touch and hold their shape when lifted.
- 6
Slice into bars. Lift the slab out using the parchment, then cut into 10–12 bars. A sharp knife dipped in warm water gives the cleanest cuts.
Used in this recipe: Silicone Spatula (Amazon, affiliate links)
Notes
Tips for Success
- Use whey-based protein powder for chewier bars; if using plant-based, add an extra tablespoon of peanut butter or honey to prevent dryness.
- Check dough consistency before chilling — it should be thick, sticky, and hold together; add oats if too wet or honey if too dry.
- Press the mixture firmly into the pan using the bottom of a measuring cup to avoid crumbly bars.
- Dip a sharp knife in warm water before slicing for the cleanest cuts.
- Wrap each bar individually and freeze for up to 2 months for grab-and-go snacks.
Common Mistakes to Avoid
- Don't press the mixture too loosely — firm pressing is essential to keep bars from falling apart.
- Don't use too much protein powder relative to the wet ingredients; if the dough feels dry, add more peanut butter or honey.
- If using plant-based protein powder, don't assume the same liquid ratio as whey — add an extra tablespoon of nut butter or honey to compensate.
Nutrition (per serving)
260 kcal
Calories
12g
Protein
23g
Carbs
15g
Fat
3g
Fiber
140mg
Sodium
These no-bake protein bars mix peanut butter, rolled oats, honey and vanilla protein powder into a thick, cookie-dough-like base, press it into a pan and chill. There is no oven and no cooking. Hands-on time is about 15 minutes, and the card’s 1 hour 10 minutes total includes the chilling. They make 10 chewy bars that keep for a week or more in the fridge, which makes them a good make-ahead snack.
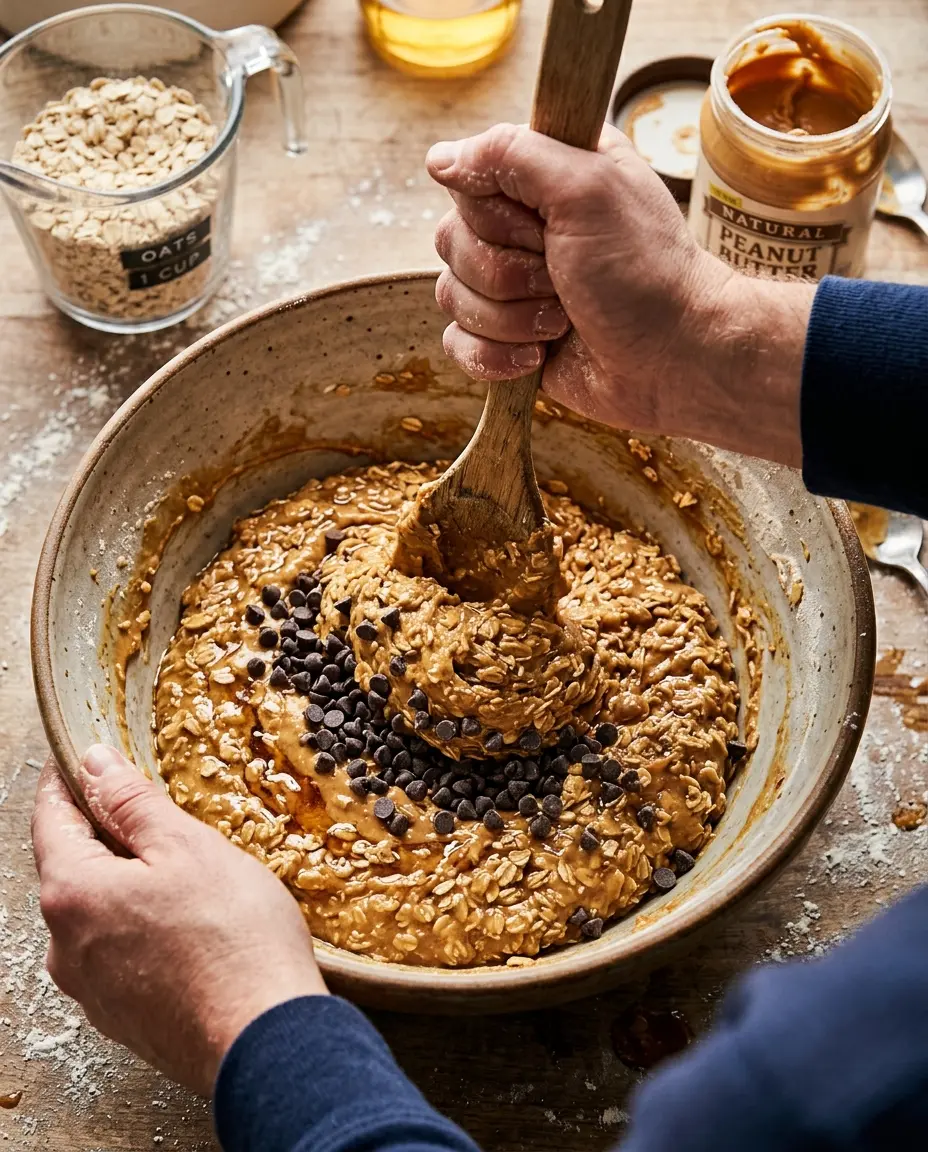
Ingredients
Base
- 1 cup creamy peanut butter (natural or conventional, stirred well if separated)
- 1 cup old-fashioned rolled oats
- 1/3 cup honey or maple syrup
- 2 scoops (about 1/4 cup) vanilla protein powder
- 1/4 cup mini chocolate chips
Optional add-ins
- 2 tablespoons ground flaxseed or chia seeds
- 1/4 cup unsweetened shredded coconut
- 1 teaspoon vanilla extract
- Pinch of flaky sea salt for topping
How to Make No-Bake Protein Bars
- Stir the wet ingredients. In a large bowl, combine the peanut butter and honey (or maple syrup) until smooth. If the peanut butter is stiff, microwave it for 20-30 seconds first so it stirs easily.
- Add the dry ingredients. Pour in the oats and protein powder and fold with a spatula until no dry pockets remain. The mixture should hold together when pressed between your fingers without crumbling.
- Add the chocolate. Fold in the chocolate chips and any optional add-ins, just until evenly distributed.
- Press into a pan. Line an 8×8 inch baking pan with parchment paper. Transfer the mixture and press it into an even, compact layer with the back of a spatula or the bottom of a measuring cup. Press firmly, since loose pressing leads to crumbly bars.
- Chill. Refrigerate for at least 1 hour, or freeze for 25-30 minutes if you are short on time. The slab should feel firm and hold its shape when lifted.
- Slice. Lift the slab out with the parchment and cut it into bars. A sharp knife dipped in warm water gives the cleanest cuts.
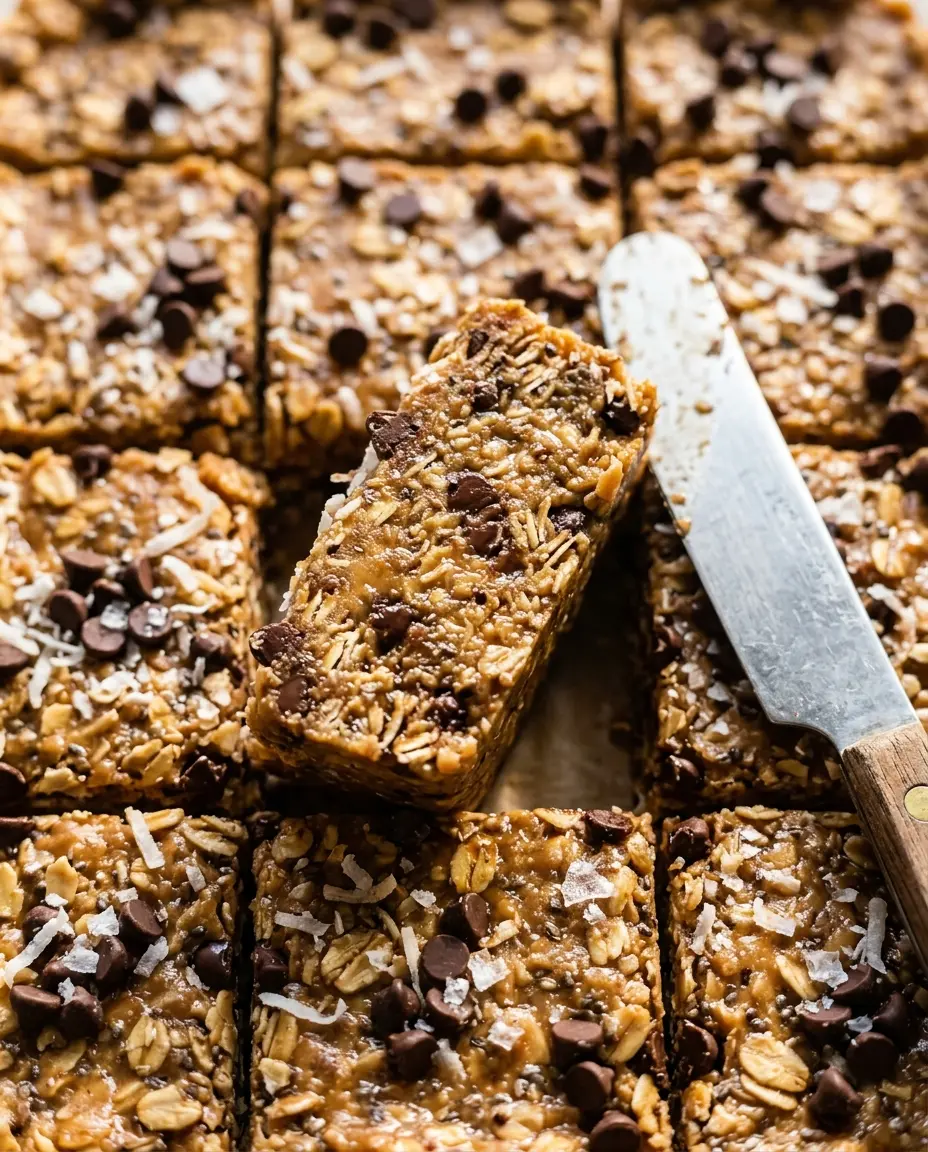
Getting the Dough Texture Right
The mixture should feel like thick cookie dough: sticky but shapeable. Check it before pressing it into the pan.
- Too wet or sticky: Add oats a tablespoon at a time.
- Too dry or sandy: Add a drizzle more honey or another tablespoon of peanut butter.
- Plant-based protein powder: It absorbs more liquid than whey, so plan on an extra tablespoon of peanut butter or honey. Whey tends to keep bars chewier.
- Too much protein powder: If the dough feels dry relative to the wet ingredients, use less powder or more peanut butter.
Why Protein Bars Crumble and How to Fix Them
- Not pressed firmly. This is the most common cause. Use the bottom of a measuring cup and push down hard, including into the corners.
- Cut before they’re firm. Give the bars the full chill time, or the freezer option, before slicing.
- Too much powder. See the dough check above. A dry dough never holds together, however long it chills.
Swaps and Substitutions
- Other nut or seed butter: Almond, cashew or sunflower seed butter all work. Use a creamy, not chunky, one, and expect a slightly different flavor and a possibly stickier or drier dough.
- No protein powder: Use an equal amount of extra oats or a mix of oats and ground flaxseed. The bars are still filling but lower in protein per serving.
- Protein powder type: Vanilla whey or vanilla plant-based both work. Unflavored works too but is less sweet. Avoid casein-heavy blends, which can turn the bars dense and chalky.
- Maple syrup for honey: Slightly less sticky, so the dough may need a little more peanut butter.
How to Store and Freeze Protein Bars
Keep the bars in an airtight container in the refrigerator, where they last about 7 to 10 days. They actually taste better after a day or two, once the oats have softened slightly.
To freeze, wrap each bar individually in plastic wrap or parchment, then store in a freezer bag for up to 2 months. They thaw in about 15 minutes at room temperature, or you can eat them slightly frozen for a fudgier texture.
More No-Bake Snacks
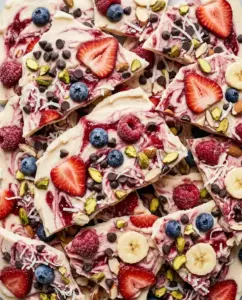
If you like make-ahead snacks, the no-bake cereal bars are another quick option, and the frozen yogurt bark is a lighter frozen snack.
FAQ
### Can I freeze them?
Yes, for up to 2 months. Wrap them individually and store them in a freezer bag.
### Why are mine falling apart?
Usually they were not pressed firmly enough, or there was too much protein powder for the wet ingredients. Add a tablespoon of peanut butter or honey and press harder.
### How long do they keep?
About 7 to 10 days in an airtight container in the refrigerator.