Homemade Caramel Apples
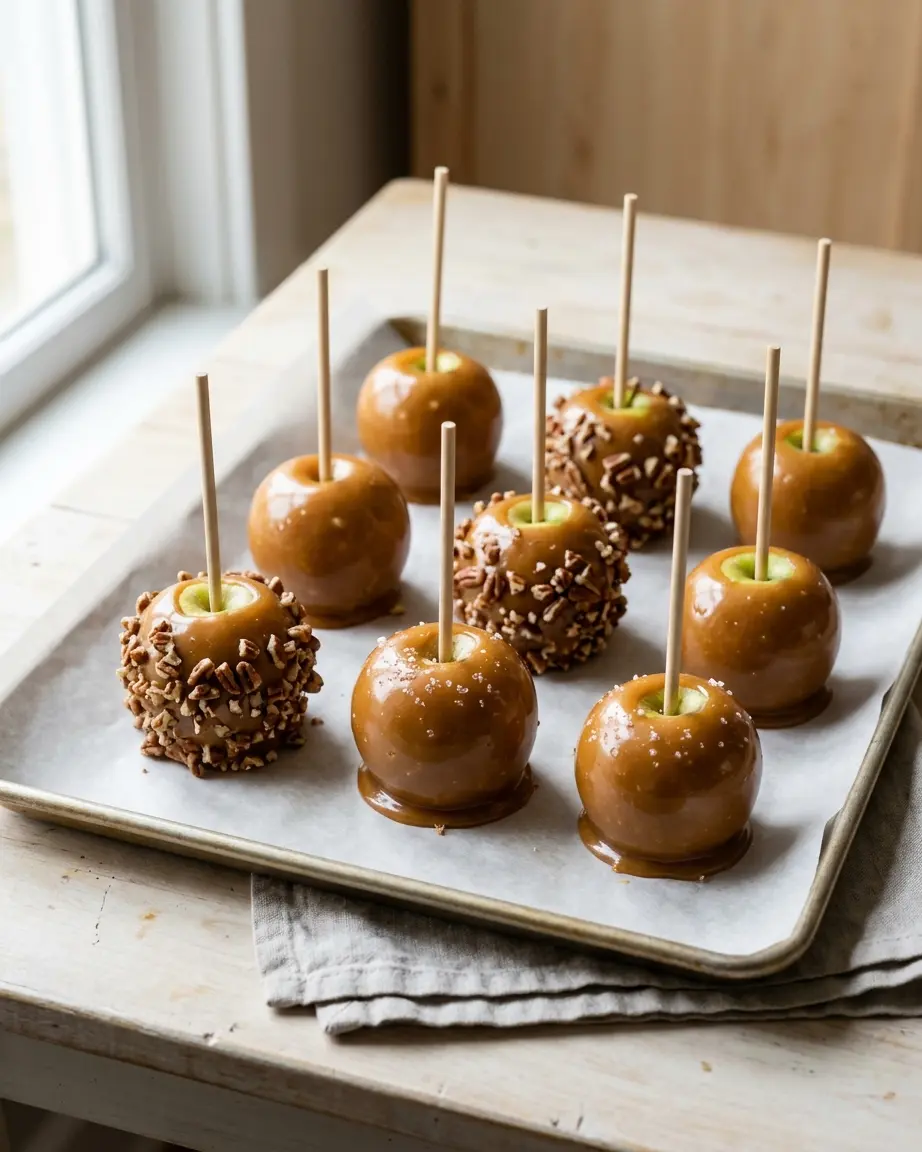
These homemade caramel apples use a stovetop caramel made with brown sugar, butter, cream, and corn syrup to create a glossy, chewy coating that sets around crisp apples in about 45 minutes.
Prep
20 min
Cook
15 min
Total
45 min
Servings
8 caramel apples
Ingredients
Tools that make this easier
Optional — the recipe works without them.
As an Amazon Associate, I earn from qualifying purchases.
- Most useful here Candy Thermometer Checks the caramel as it cooks to 240°F before dipping the apples. Check price on Amazon
- Rimmed Baking Sheet Holds the parchment-lined apples upright while the caramel sets. Check price on Amazon
- Silicone Spoon Spatula Stirs the butter, brown sugar, corn syrup, and cream as the caramel cooks. Check price on Amazon
Instructions
- 1
Line a large rimmed baking sheet with parchment paper. Wash each apple thoroughly, remove any wax with a brief dip in hot water if needed, dry completely, and insert a wooden stick firmly into the stem end (about 10 minutes). It's ready when the apple skins are completely dry and the sticks feel secure when gently twisted.
- 2
Arrange the optional chopped pecans, mini chocolate chips, and crushed pretzels in separate shallow bowls near the prepared baking sheet so the toppings are ready before the caramel is cooked (about 3 minutes).
- 3
Combine the butter, brown sugar, corn syrup, heavy cream, and salt in a heavy-bottomed 3-quart saucepan. Cook over medium heat, stirring gently with a heatproof spatula until the butter melts and the sugar dissolves (about 5 minutes). It's ready when the mixture is uniform, the butter is fully melted, and no dry sugar remains around the pan.
- 4
Attach a candy thermometer and bring the caramel to a steady boil over medium heat. Cook without stirring, adjusting the heat as needed to maintain a controlled boil, until it reaches 240°F (about 10 minutes). It's ready when the thermometer reads 240°F; the temperature, rather than color alone, determines whether the coating will set while remaining chewy.
- 5
Remove the saucepan from the heat and carefully stir in the vanilla extract. Let the caramel stand for 3 to 5 minutes, until the most vigorous bubbling subsides and the caramel thickens slightly but remains pourable. It's ready when the caramel falls from the spatula in a thick ribbon and still flows smoothly enough to coat an apple.
- 6
Dip one apple at a time into the caramel, rotating it to coat the sides evenly. Lift it out, turn it slowly to let excess caramel drip back into the saucepan, and scrape the bottom gently against the pan's rim (about 5 minutes). It's ready when each apple has an even coating that clings to the skin without immediately running off in a thin stream.
- 7
Roll the freshly coated apples in the optional toppings or sprinkle with flaky sea salt, then set them stick-side up on the parchment-lined baking sheet with space between them. Let the apples stand at cool room temperature for about 7 minutes, or until the coating is set enough to handle. It's ready when the caramel surface feels set rather than fluid and no longer slides when the apple is gently repositioned.
Used in this recipe: Candy Thermometer Rimmed Baking Sheet Silicone Spoon Spatula (Amazon, affiliate links)
Notes
Tips for Success
- Use a candy thermometer and cook the caramel to 240°F, the soft-ball stage. This temperature helps produce a coating that adheres to the apple and remains chewy instead of staying runny or becoming brittle.
- Remove wax thoroughly and dry the apples completely before inserting the sticks. Let the cooked caramel cool for 3 to 5 minutes until it thickens slightly, then dip and rotate each apple slowly. If the caramel becomes too thick during dipping, warm it gently over low heat while stirring; avoid adding water, which can make the coating runny.
Common Mistakes to Avoid
- The caramel slides off the apples or forms a puddle underneath them because the skins are waxy or damp, or the caramel is too hot and fluid when dipping begins.
Nutrition (per serving)
610 kcal
Calories
1g
Protein
108g
Carbs
22g
Fat
4g
Fiber
200mg
Sodium
Homemade caramel apples have a glossy, chewy coating that clings to crisp, fresh apples without turning brittle or sliding off. This caramel apples recipe uses a stovetop caramel made with brown sugar, butter, cream, and corn syrup, plus a candy thermometer to help get the texture right. Keep the apples completely dry and let the caramel cool briefly before dipping for a smooth, even finish.
Ingredient Notes
Use the quantities in the recipe card above. Choose firm, crisp apples that will hold their shape while you dip and rotate them. Remove the wax and dry the skins completely: a wet or slippery surface makes it harder for the caramel to cling.
Prepare optional toppings before heating the caramel. Put chopped nuts, mini chocolate chips, and crushed pretzels in separate shallow bowls so they are ready while the coating is still tacky.
How To Make It
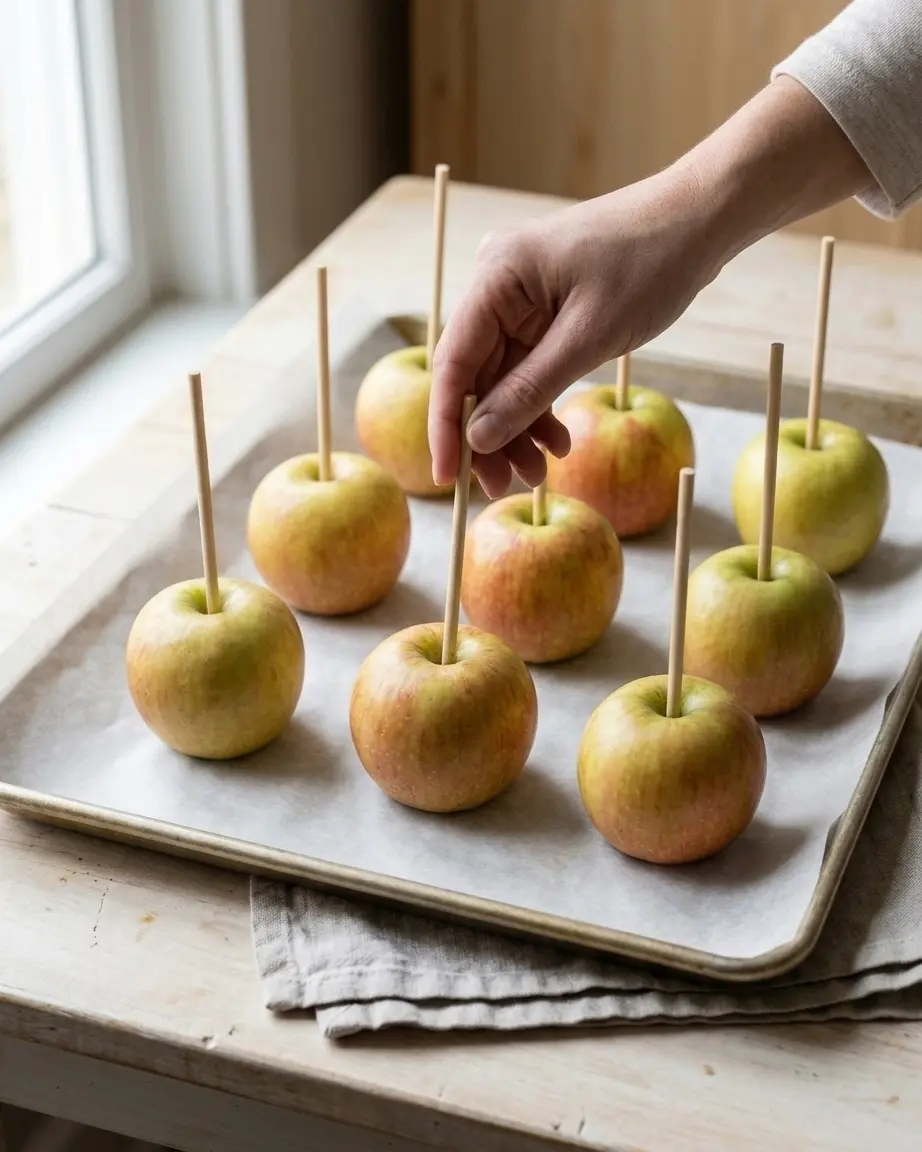
Follow the complete method in the recipe card above. Before starting the caramel, set out the prepared apples, toppings, and lined tray within easy reach. Once the coating reaches the target temperature, it thickens as it cools, so having the workspace ready makes dipping easier.
Use the thermometer reading to judge the cooking stage, then watch the consistency before dipping: the caramel should flow in a thick ribbon and cling to the apple. The troubleshooting notes below explain what to adjust if it slides off or becomes too thick.
Why the Caramel Must Reach 240°F
The temperature of the sugar mixture determines how the finished coating behaves. Caramel that hasn’t cooked enough can stay runny, while caramel cooked too far can become hard or brittle instead of chewy. A candy thermometer gives you a reliable target, even when the caramel’s color is difficult to judge. Reaching 240°F helps the coating firm up around the apple while remaining soft enough to bite through. The short cooling period after cooking matters, too. Hot caramel flows easily, but letting it thicken slightly before dipping helps it cling to the apple instead of slipping down the sides.
How to Keep Caramel From Sliding Off Apples
Caramel that pools beneath the apples or slides off the skin usually points to one of two problems: moisture on the apples or caramel that’s still too fluid.
- If the coating slides off: Check that the apples are completely dry and free of wax. Even a thin layer of moisture or wax can interfere with adhesion.
- If the caramel runs off immediately: Let it cool for 3 to 5 minutes after cooking, then dip again when it has thickened slightly.
- If the caramel becomes too thick: Warm it gently over low heat while stirring until it flows smoothly again. Avoid adding water, which can make the coating runny. Work steadily once dipping begins. Having the prepared apples, toppings, and lined baking sheet ready makes it easier to coat each apple while the caramel is still at the right consistency.
Substitutions
These are untested alternatives, and each may change the flavor or texture of the finished coating.
- Golden syrup for light corn syrup: Golden syrup adds a mild caramelized flavor and may change the texture. Monitor the temperature carefully because different sugar compositions can affect how the caramel sets.
- Whipping cream for heavy cream: Whipping cream may produce a similar creamy caramel, but differences in fat content can affect richness and firmness.
- Chopped toasted walnuts for chopped toasted pecans: Walnuts provide a similar crunchy coating with a slightly more earthy, tannic nut flavor.
Serving Ideas
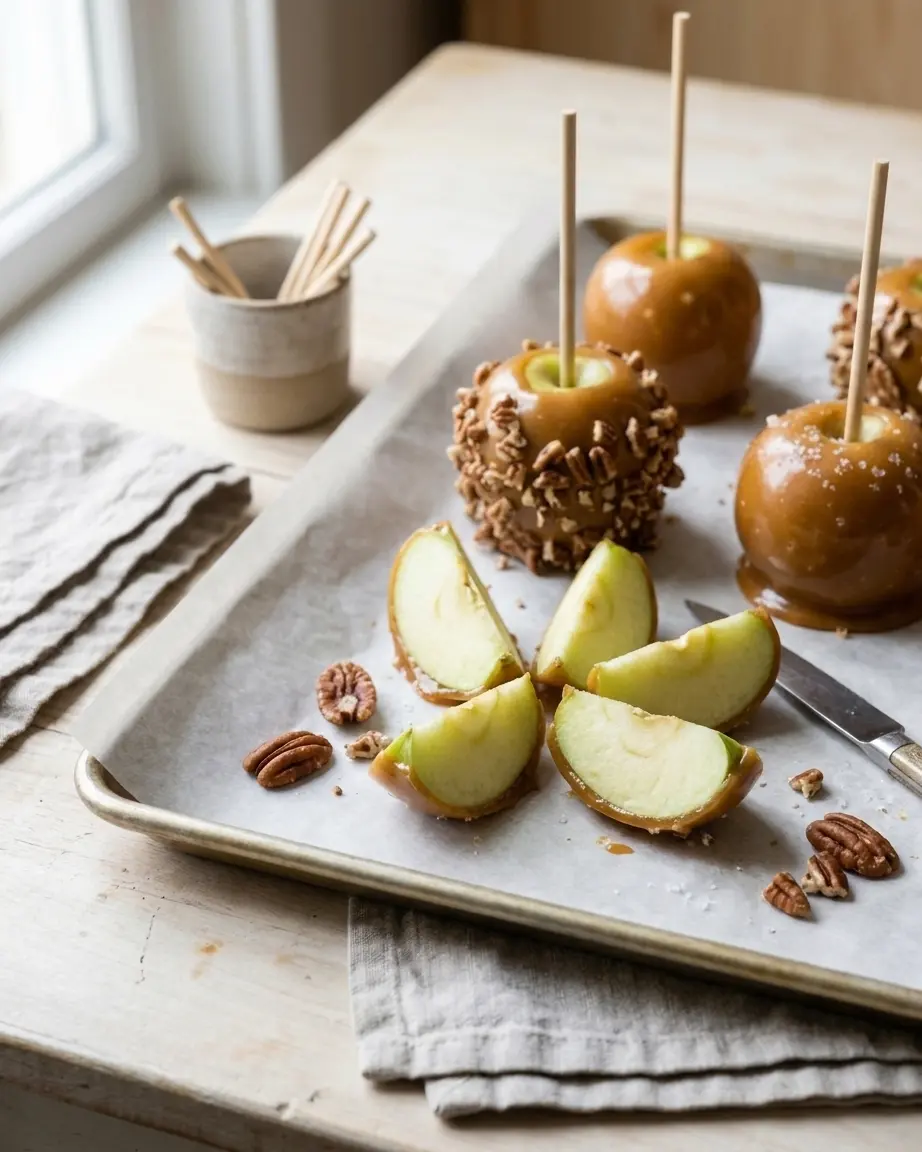
- Serve the apples with warm apple cider for a classic fall pairing.
- Arrange them on a Halloween or fall dessert platter.
- Combine toasted pecans with a light sprinkle of flaky sea salt for a sweet-and-salty finish.
- Slice the apples into wedges just before serving to make them easier to share. For another apple dessert on a fall platter, try these apple pie biscuits with gooey cinnamon filling.
Storage and Make-Ahead Tips
Can You Make Caramel Apples Ahead of Time?
You can wash, dry, and chill the apples several hours ahead. Keep them uncovered until their skins are completely dry, and prepare the toppings in advance. For the best coating, cook the caramel and dip the apples shortly before serving. Reheated caramel may need gentle warming and careful temperature monitoring.
How Should Homemade Caramel Apples Be Stored?
Once the coating has fully set, wrap each apple individually and refrigerate in an airtight container for up to 3 days. Let the apples sit briefly at room temperature before serving, since condensation from refrigeration can make the caramel tacky. Avoid leaving the apples unrefrigerated for more than 2 hours. Freezing is not recommended because the apples release moisture as they thaw, which can cause the caramel to slide off.
FAQ
What are the best apples to use for caramel apples?
Choose small to medium apples that are firm and crisp. Thoroughly washed, wax-free, completely dry skins help the caramel adhere, while crisp flesh gives the finished treat a pleasant contrast to the chewy coating.
How do you keep caramel from sliding off apples?
Remove the wax and dry the apple skins completely before dipping. After cooking, let the caramel cool for 3 to 5 minutes so it thickens slightly, then rotate each apple slowly to build an even coating.
How do you know when homemade caramel is ready?
Use a candy thermometer and cook the caramel to 240°F. After removing it from the heat and stirring in the vanilla, let it stand until it falls from the spatula in a thick ribbon but remains fluid enough to coat the apples.
How should homemade caramel apples be stored?
Wrap fully set apples individually and refrigerate them in an airtight container for up to 3 days. Let them sit briefly at room temperature before serving, and avoid freezing because thawing can release moisture and loosen the coating.