Butternut Squash Mac and Cheese
This butternut squash mac and cheese uses roasted squash and a three-cheese sauce for a creamy baked pasta dinner with minimal prep.
Prep
15 min
Cook
30 min
Total
45 min
Servings
6 servings (about 8 cups)
Ingredients
Tools that make this easier
Optional — the recipe works without them.
As an Amazon Associate, I earn from qualifying purchases.
- Most useful here Rimmed Half Sheet Pan Roasts the butternut squash until its edges brown. Check price on Amazon
- Full-Size Blender Blends the roasted squash with milk into a smooth, pourable puree. Check price on Amazon
- Box Cheese Grater Shreds the Gruyere, cheddar, and fontina before they melt into the sauce. Check price on Amazon
Instructions
- 1
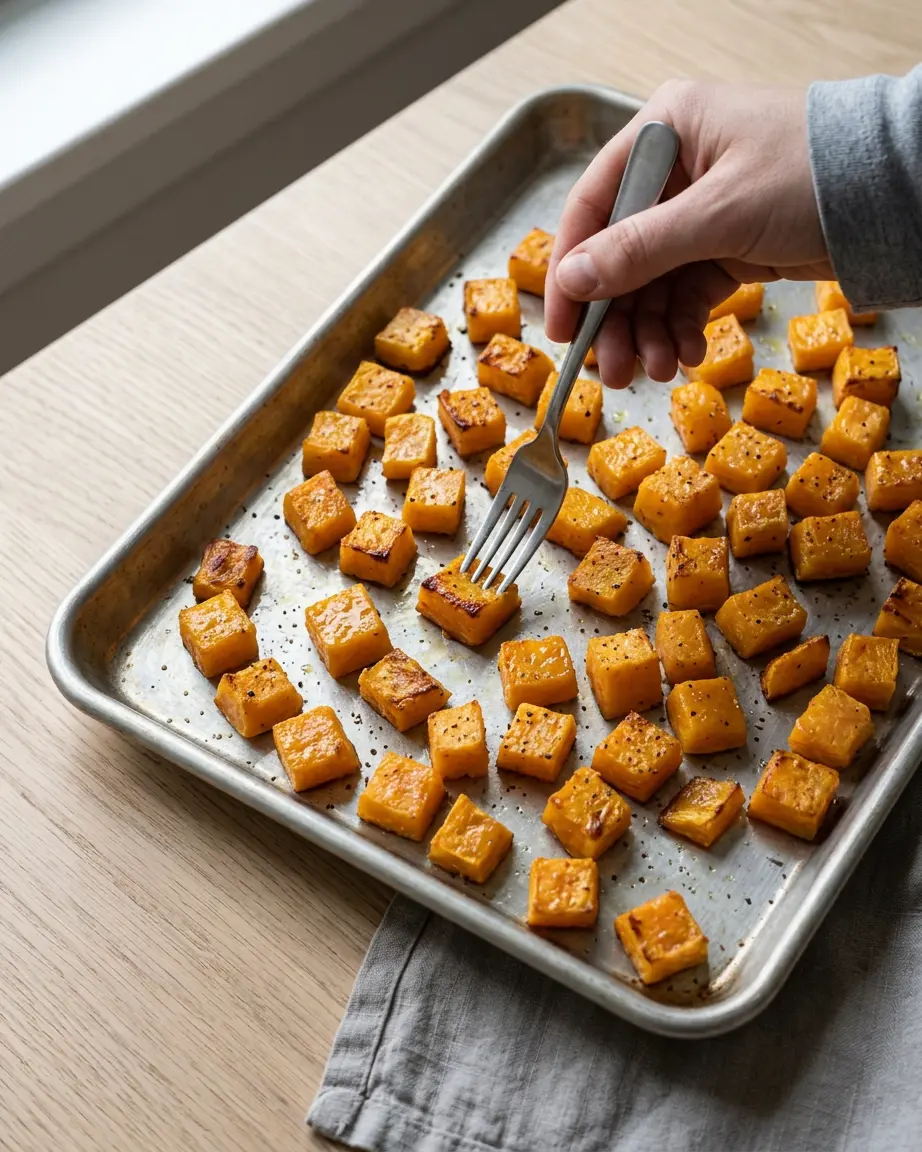
Heat the oven to 425°F. Toss the butternut squash with olive oil, kosher salt, and black pepper on a large rimmed baking sheet, then roast for 18 minutes. It's ready when the squash is fork-tender with browned edges.
- 2
Meanwhile, bring a large pot of salted water to a boil and cook the elbow macaroni for 1 minute less than the package directions; drain well. It's ready when the pasta is just shy of al dente and still has a firm center.
- 3
Transfer the roasted squash to a blender and blend until smooth with 1 cup of the milk (about 2 minutes). It's ready when the squash puree is smooth enough to pour.
- 4
Melt the butter in a 12-inch skillet over medium heat, whisk in the flour, and cook for 1 minute; whisk in the remaining 1 cup milk and garlic. It's ready when the mixture is smooth and lightly thickened.
- 5
Reduce the skillet to low heat and whisk in the squash puree, then remove from the heat and stir in the Gruyere, cheddar, and fontina until melted (about 4 minutes). It's ready when the sauce is smooth, glossy, and coats the back of a spoon.
- 6
Fold the drained macaroni into the sauce and stir in the fresh sage if using (about 1 minute). It's ready when every piece of pasta is evenly coated.
- 7
Serve immediately while hot, or transfer to a baking dish and broil briefly for a browned top (about 2 minutes). It's ready when the cheese sauce is bubbling around the pasta.
Used in this recipe: Rimmed Half Sheet Pan Full-Size Blender Box Cheese Grater (Amazon, affiliate links)
Notes
Tips for Success
- Roasting the butternut squash before blending concentrates its sweetness and removes excess moisture, so the cheese sauce stays thick rather than watery.
- Remove the skillet from the heat before adding the shredded cheese and stir gradually until smooth; if the sauce tightens too much, loosen it with a small splash of milk.
Common Mistakes to Avoid
- The cheese sauce can become grainy or greasy if the cheese is added over high heat.
Nutrition (per serving)
520 kcal
Calories
23g
Protein
61g
Carbs
23g
Fat
4g
Fiber
710mg
Sodium
Butternut squash mac and cheese blends roasted squash into a Gruyere, cheddar and fontina sauce, so the squash adds body and a mild sweetness without tasting like a vegetable side. The squash roasts while the pasta cooks, and the whole dish comes together in about 45 minutes on the stovetop, with an optional quick broil at the end.
Ingredients
- 4 cups butternut squash, peeled and cut into 1-inch cubes
- 1 tbsp olive oil
- 1 tsp kosher salt
- 1/2 tsp finely ground black pepper
- 12 oz elbow macaroni
- 2 tbsp unsalted butter
- 2 tbsp all-purpose flour
- 2 cups whole milk
- 2 cloves garlic, finely minced
- 1 cup Gruyere cheese, finely shredded
- 1 cup extra-sharp cheddar cheese, finely shredded
- 1/2 cup fontina cheese, finely shredded
- 1 tbsp fresh sage, finely chopped, optional
Cut the squash into even 1-inch cubes so every piece is tender at the same time; small bits burn while large ones stay firm, and firm pieces leave lumps in the puree. Shred the cheeses yourself if you can. Pre-shredded cheese is coated with starch to stop it clumping, and that coating can make the sauce slightly gritty.
How to Make Butternut Squash Mac and Cheese
Heat the oven to 425°F. Toss the butternut squash with the olive oil, kosher salt and black pepper on a large rimmed baking sheet. Roast for 18 minutes, until the squash is fork-tender with browned edges.
Meanwhile, bring a large pot of salted water to a boil and cook the elbow macaroni for 1 minute less than the package directions, so it still has a firm center. Drain well.
Transfer the roasted squash to a blender and blend it with 1 cup of the milk until smooth enough to pour.
Melt the butter in a 12-inch skillet over medium heat. Whisk in the flour and cook for 1 minute. Whisk in the remaining 1 cup milk and the garlic, and cook until smooth and lightly thickened.
Reduce the heat to low and whisk in the squash puree. Remove the skillet from the heat, then stir in the Gruyere, cheddar and fontina a handful at a time until melted. The sauce should be smooth and glossy and coat the back of a spoon.
Fold the drained macaroni into the sauce until every piece is coated. Stir in the fresh sage, if using.
Serve right away, or transfer to a broiler-safe baking dish and broil briefly, watching closely, until the top is browned in spots and the sauce bubbles at the edges.
Roasting vs. Boiling the Squash
Boiled or steamed squash takes on water, and that water ends up in the sauce, thinning it and dulling the cheese. Roasting at 425°F does the opposite: it dries the squash out slightly and browns the edges, so the puree is thick enough to carry the cheese and has a deeper, nutty-sweet flavor. It is also why this recipe doesn’t use canned puree, which is wetter and tastes flatter.
The pasta comes out of the water a minute early because it keeps softening in the hot sauce. Fully cooked macaroni turns soft and swollen by the time you serve it, especially if you broil the dish.
Keeping the Cheese Sauce Smooth
A grainy or greasy sauce almost always means the cheese went into a pan that was too hot. At high heat the proteins in the cheese tighten and squeeze out fat. Taking the skillet off the heat before the cheese goes in, and adding it gradually, prevents that. If the sauce tightens up once the pasta is in, loosen it with a small splash of milk.
Cheese and Milk Swaps
- White cheddar instead of Gruyere: expect a sharper, tangier sauce with less of the nutty flavor.
- Low-moisture mozzarella instead of fontina: expect a milder flavor and a stretchier texture.
- Evaporated milk instead of whole milk: expect a richer, slightly thicker sauce that is a little less likely to break.
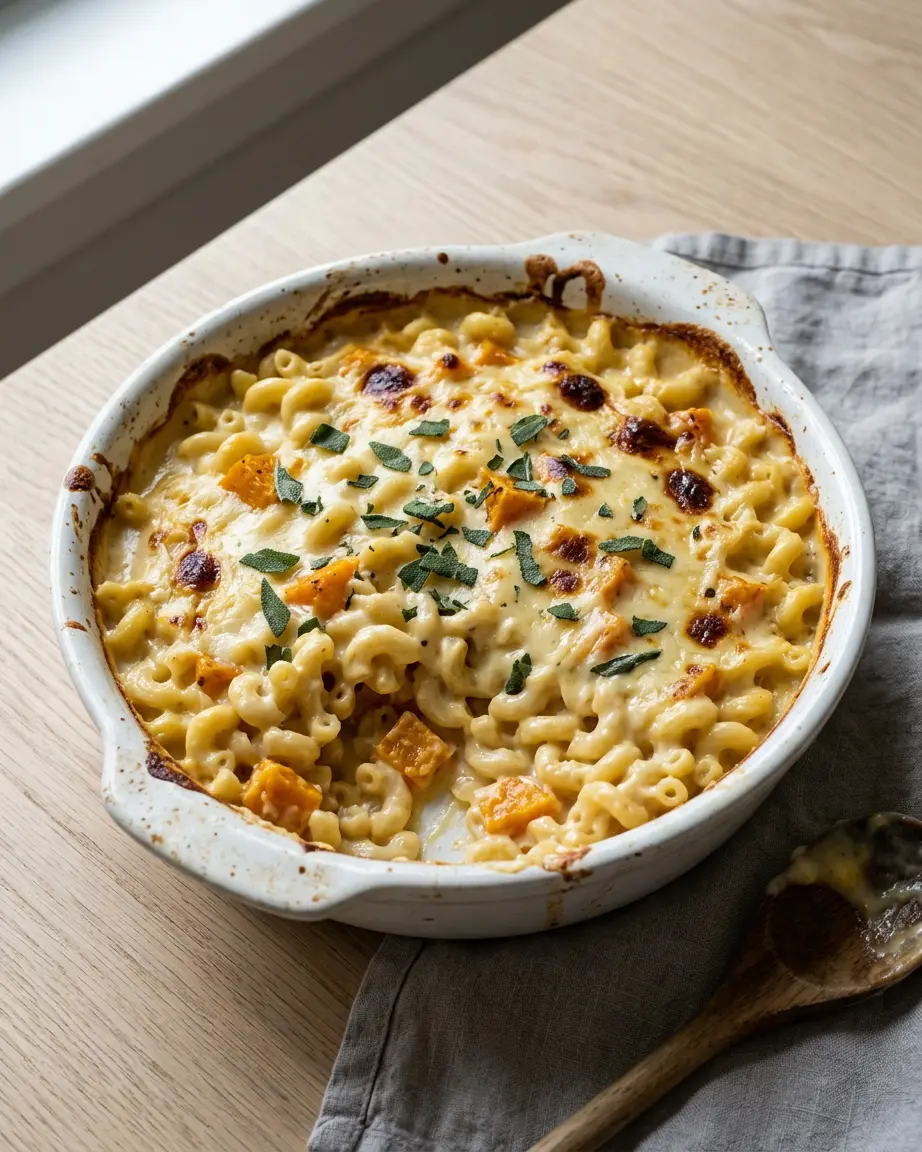
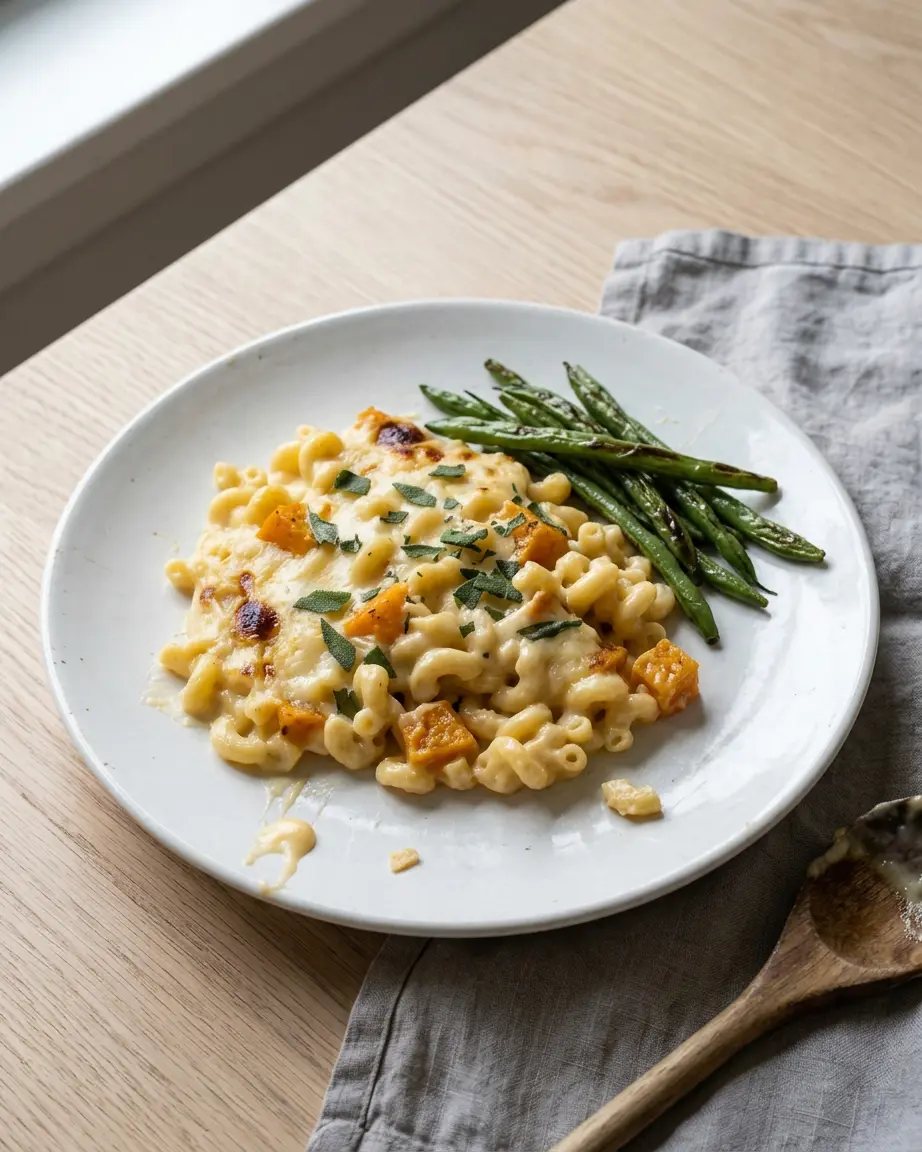
- Visible squash pieces: if you like chunks of squash in the pasta, as in the serving photo, set aside a few roasted cubes before blending and fold them in with the macaroni. Expect a paler, slightly thinner sauce, since less squash goes into the puree.
Make-Ahead, Storage and Reheating
You can roast the squash up to 2 days ahead and keep it covered in the refrigerator; its storage clock starts the day it is roasted. Blend the chilled squash with the milk when you make the sauce.
Refrigerate leftovers in a covered container within 2 hours of cooking and eat them within 3 to 4 days. Reheat gently on the stovetop or in the microwave until the center reaches 165°F, adding a splash of milk because the sauce thickens as it chills. The USDA’s leftovers and food safety guide covers cooling and reheating in more detail.
What to Serve With It
Roasted green beans or Brussels sprouts cut through the richness, and a tart salad such as this sweet vinaigrette salad works too. As a side rather than a main, it goes well with a simple roasted chicken. For a classic version without squash, try this homemade mac and cheese.
FAQ
Does it taste strongly of squash?
No. The roasted squash adds sweetness, color and body, but the Gruyere and extra-sharp cheddar lead the flavor.
Can I use frozen butternut squash?
You can roast it straight from frozen, but it releases more water and browns less. Expect a slightly thinner puree; spread the cubes out well and roast until any liquid on the pan has cooked off and the edges start to brown.
Can I bake it as a casserole?
The recipe is written as a stovetop mac and cheese with an optional short broil. Longer baking would keep cooking the pasta and dry out the sauce, so if you want a browned top, broil it briefly rather than baking it.