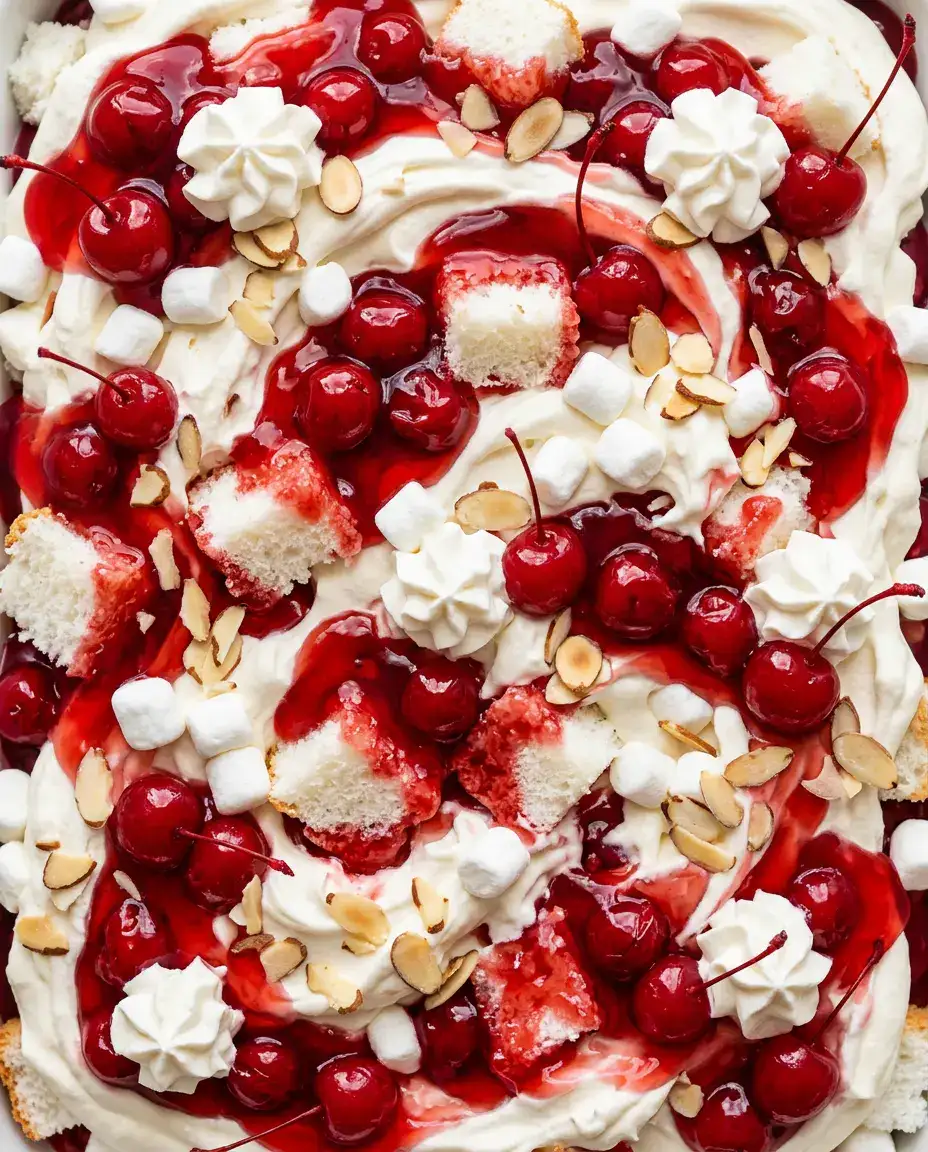
Cherries in the Snow
Cherries in the Snow is a creamy no-bake cherry dessert with layers of fluffy filling, sweet-tart cherries, and soft angel food cake.
Prep
10 min
Cook
N/A
Total
4 hr 10 min
Servings
12 servings
Ingredients
Tools that make this easier
Optional — the recipe works without them.
As an Amazon Associate, I earn from qualifying purchases.
Instructions
- 1
In a large mixing bowl, beat the cream cheese until completely smooth with no lumps remaining. Add the powdered sugar and vanilla, then mix until the filling looks light and fluffy.
- 2
Fold in the whipped topping using a spatula instead of a mixer. The mixture should stay airy and soft rather than dense.
- 3
In a trifle dish or large glass bowl, spread a layer of angel food cake cubes across the bottom. Leave a few gaps so the cherry filling can settle into the cake.
- 4
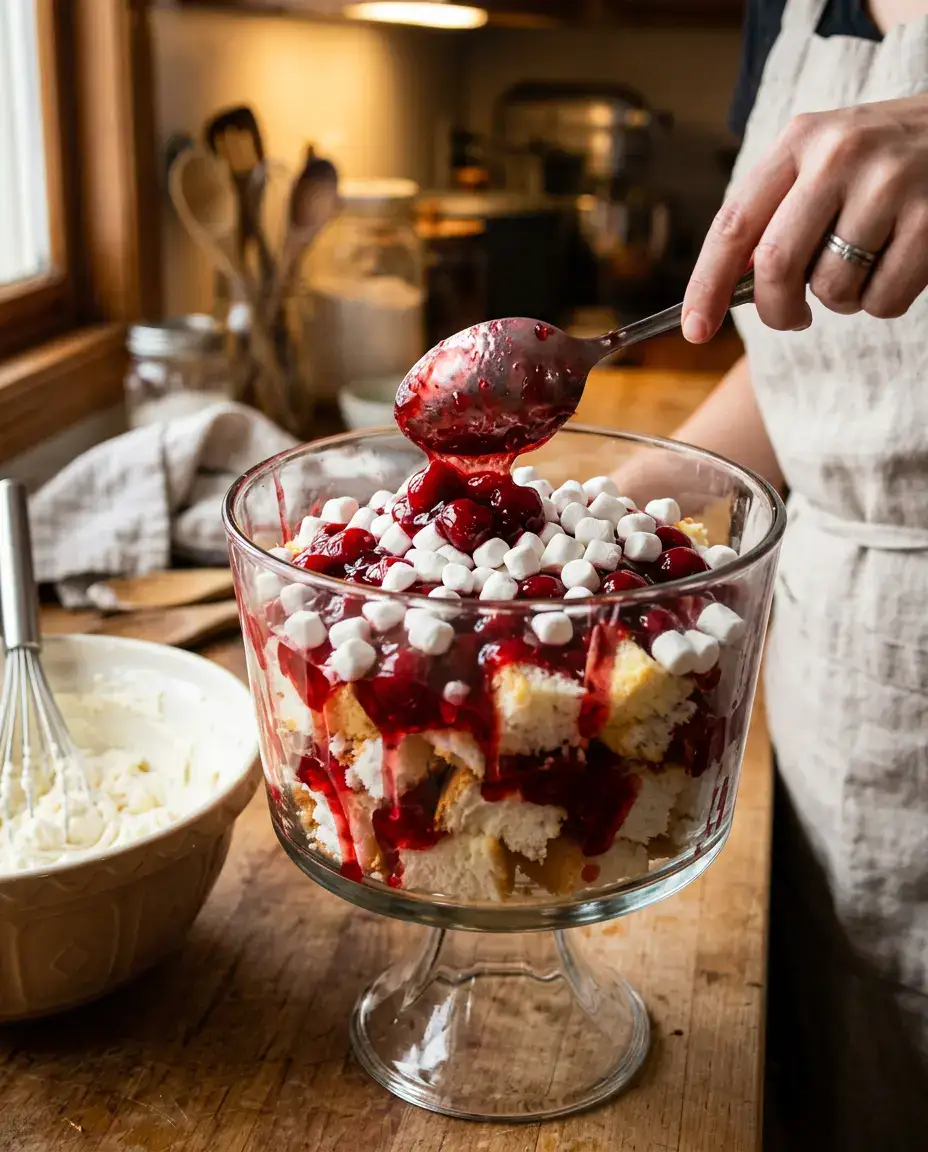
Spoon part of the cherry pie filling over the cake layer, letting some of the syrup drip down the sides of the bowl. Sprinkle a handful of mini marshmallows over the cherries.
- 5
Add a layer of the cream mixture and smooth it gently with the back of a spoon. Repeat the layers until all ingredients are used, finishing with cherries on top for the classic “snowy” look with bright red swirls.
- 6
Cover and refrigerate for at least 4 hours before serving. The cake should soften slightly and absorb some of the cherry filling while still holding its shape.
Used in this recipe: Electric Hand Mixer Silicone Spatula (Amazon, affiliate links)
Notes
Tips for Success
- Easy no-bake dessert
- Light and fluffy texture
- Can be made ahead
- Holds layers well
Nutrition (per serving)
350 kcal
Calories
12g
Protein
35g
Carbs
12g
Fat
2g
Fiber
400mg
Sodium
Cherries in the Snow is a chilled, no-bake dessert: cream cheese filling folded with whipped topping, cubes of angel food cake, cherry pie filling and mini marshmallows, layered in a trifle dish. It takes about 10 minutes to assemble, then needs time in the refrigerator to set, which makes it a good make-ahead choice for potlucks and holiday tables.
Ingredients
For the Creamy Filling
- 1 package (8 ounces) cream cheese, softened
- 1 cup powdered sugar
- 1 teaspoon vanilla extract
- 1 container (8 ounces) whipped topping, thawed
For the Layers
- 1 prepared angel food cake, cut into bite-sized cubes
- 2 cans (21 ounces each) cherry pie filling
- 1 cup mini marshmallows
Optional Garnish
- Extra whipped topping
- Maraschino cherries
- Toasted sliced almonds
Layering Cherries in the Snow
In a large mixing bowl, beat the cream cheese until completely smooth with no lumps remaining. Add the powdered sugar and vanilla, then mix until the filling looks light and fluffy.
Fold in the whipped topping using a spatula instead of a mixer. The mixture should stay airy and soft rather than dense.
In a trifle dish or large glass bowl, spread a layer of angel food cake cubes across the bottom. Leave a few gaps so the cherry filling can settle into the cake.
Spoon part of the cherry pie filling over the cake layer, letting some of the syrup drip down the sides of the bowl. Sprinkle a handful of mini marshmallows over the cherries.
Add a layer of the cream mixture and smooth it gently with the back of a spoon. Repeat the layers until all ingredients are used, finishing with cherries on top for the classic “snowy” look with bright red swirls.
Cover and refrigerate for at least 4 hours before serving. The cake should soften slightly and absorb some of the cherry filling while still holding its shape.
Why Angel Food Cake and Cream Cheese Work Together
Angel food cake is light and absorbent, so it soaks up cherry syrup without turning heavy the way pound cake or brownies would. The cream cheese adds tang that balances the sweet pie filling, and folding in whipped topping keeps the filling airy. As it chills, the layers firm up and the cake softens into them.
Getting Clean Layers and a Set Filling
- Cut the cake with a serrated knife. It slices angel food cake cleanly without crushing it.
- Soften the cream cheese first. If it is still cold, it leaves small lumps in the filling. Let it sit at room temperature for about 30 minutes.
- Filling runny? This usually means the cream cheese was too warm or the dessert had too little time to chill. Give it the full 4 hours, or overnight.
- Cherries sinking or bleeding? Use smaller spoonfuls between layers and let only a little syrup run down the sides.
- Want a more old-fashioned flavor? A few drops of almond extract in the cream mixture pair well with cherry.
Swaps and What to Expect
- Pound cake or vanilla sponge instead of angel food: Expect a richer, heavier dessert that holds its shape more firmly.
- Homemade whipped cream instead of whipped topping: Works, but it softens faster overnight. Stabilize it first if you can.
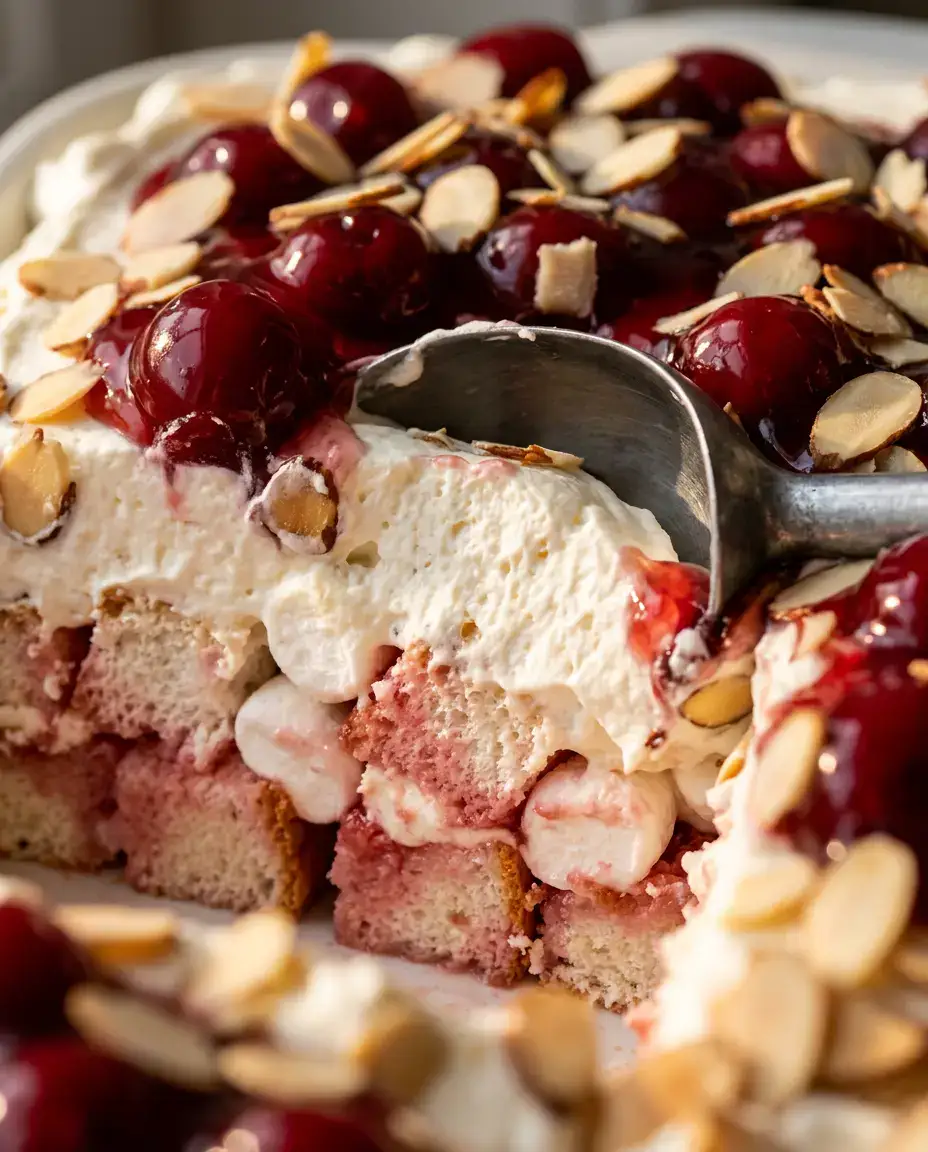
- Toasted sliced almonds or maraschino cherries: Optional garnish that adds crunch or color at serving time.
Make-Ahead, Storage and Serving
Overnight chilling gives a softer, more blended texture, so this is easy to assemble the day before. Serve it cold from the refrigerator with a large spoon so every scoop gets cake, cherries and filling. Store leftovers covered in the refrigerator and eat them within 3 to 4 days. Freezing is not recommended because the whipped filling turns watery once thawed.
In smaller mason jars or dessert cups it works well as a summer serving. For other layered no-bake desserts, try the red, white and blue trifle or the strawberry icebox cake. If you would rather bake your cherry dessert, cherry dump cake has a buttery golden topping.
FAQ
Can I make Cherries in the Snow the day before?
Yes. It is usually better after several hours, and overnight works well for parties and holidays.
Why is this sometimes called cherry fluff or a cherry salad?
Vintage potluck recipes used those names for chilled, creamy fruit desserts. This version is layered with cake, so it is closer to a trifle.